Grumperina's post this morning inspired me to share my method for t-shirt stenciling. I have been stenciling for almost a year now, and I'm not great, but I have found what works for me.
Step 1: First you need a shirt, obviously. I always buy mine at a craft store, since I find that the “youth” medium size fits me. Make sure that the brand of shirt looks respectable (many craft stores carry Hanes, which work well). Other possible sources are discount stores like Target. But you probably don’t want a shirt that is ribbed. Stenciling on bumpy fabric is really hard. Cotton or cotton/poly blends are good choices.
Step 2: Wash the shirt to remove the sizing. A lot of people skip this step, but I have heard some people say that the ink doesn’t set as well if you don’t. I often also machine dry the shirt to see if it will shrink a lot.
Step 3: Pick your stencil. There are tons of great sources on the internet for stencils. The motherload is http://www.stencilry.org. I also sometimes download webdings fonts from http://www.dafont.com/. One thing to keep in mind is how difficult the stencil will be to cut (are there tons of little lines?). You also have to watch for “inversion.” This occurs when you cut out the negative space in a stencil and then paint the stencil as if these spaces are the positive ones. A better explanation, including diagrams, is here http://img411.imageshack.us/img411/1084/inverting4aa.jpg. If you cut out the dark spaces of a picture, you should paint these in a darker color than your t-shirt.
Step 4: Resize and print your stencil. You can copy a picture from the internet into a program like MS Word and resize as you choose. Then print it out on normal printer paper. Photoshop can help, but it isn't strictly necessary.
Step 5: Tape your stencil onto a piece of freezer paper. You should tape the stencil onto the papery side, not the wax side. Freezer paper is like one-sided wax paper. You can buy it at the grocery store, usually next to the wax paper. If you can't find it in the grocery store, they also sell it at craft stores for quilting and applique work. If you live near a Wegmens grocery store, I did find a 75 square foot roll of freezer paper there.
Step 6: Cut out your stencil, making sure to cut through both layers, printer and freezer paper. You can use an exacto knife or small scissors. I usually prefer the latter, as it is easier on my hands. But for some stuff, a knife will be needed. If you are using scissors, gently poke the tip through in a large space that you are cutting out (like we did in kindergarten to cut holes in the middle of paper). One thing to watch out for is “islands,” places where you don’t want to cut out a piece, but they are surrounded by space you do want to cut out. There are two ways to deal with these. One is to just cut these out and save them. Later you will attach them to your t-shirt in the appropriate places. The other is to leave “bridges,” strips of paper that connect these islands to the rest of the stencil. You will have to paint in these spaces left by these later. It’s your preference. I usually go with the bridge method, as I tend to lose the little pieces.
Step 7: Remove the printer paper from your freezer paper stencil (be careful to pick off all the tape or else it will get scorched). Iron your stencil onto your shirt where you want it, wax side down. The wax will stick to your shirt. You should set your iron on the appropriate heat setting for the t-shirt fabric you have. If you have any loose islands, iron them in the correct place. Make sure your stencil is really stuck on there.
Step 8: Paint! Using a sponge brush, dab fabric paint all over your stencil. Don’t brush it on, instead, dab in an up and down motion. Also, add paint gradually. Do not glob it on. You may need to do a few coats to get good coverage. Wait for it to dry.
Step 9: Peel off your stencil carefully. If you had bridges, carefully fill them in with paint. Heat set your paint with an iron if the bottle says to.
Done! Be careful when washing your custom shirt. I usually wash them inside out and hang them to dry.
Post pictures at craftster!
http://www.craftster.org/forum/index.php?board=140.0
Other tutorials:
http://72.29.83.164/~stencil/tutorials.htm
http://www.craftster.org/forum/index.php?topic=45311.0
Paint recommendations:
I have used both Speedball screen printing inks and Jacquard fabric paint. These work well, but you need to heat set them or they will just "sit on top of" the shirt and not bond to the fabric. Note that some brands of paint will not show up on dark fabrics.
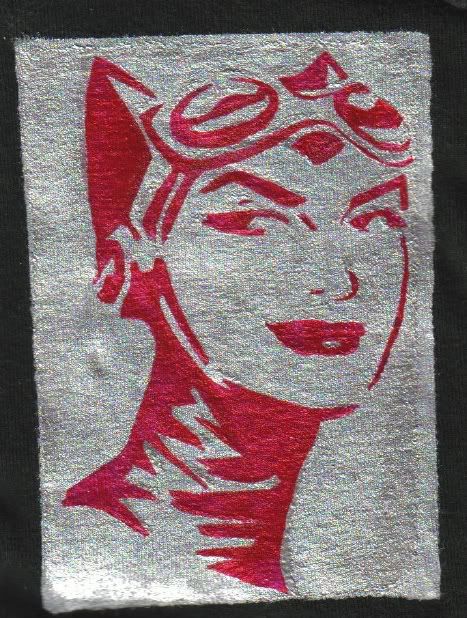
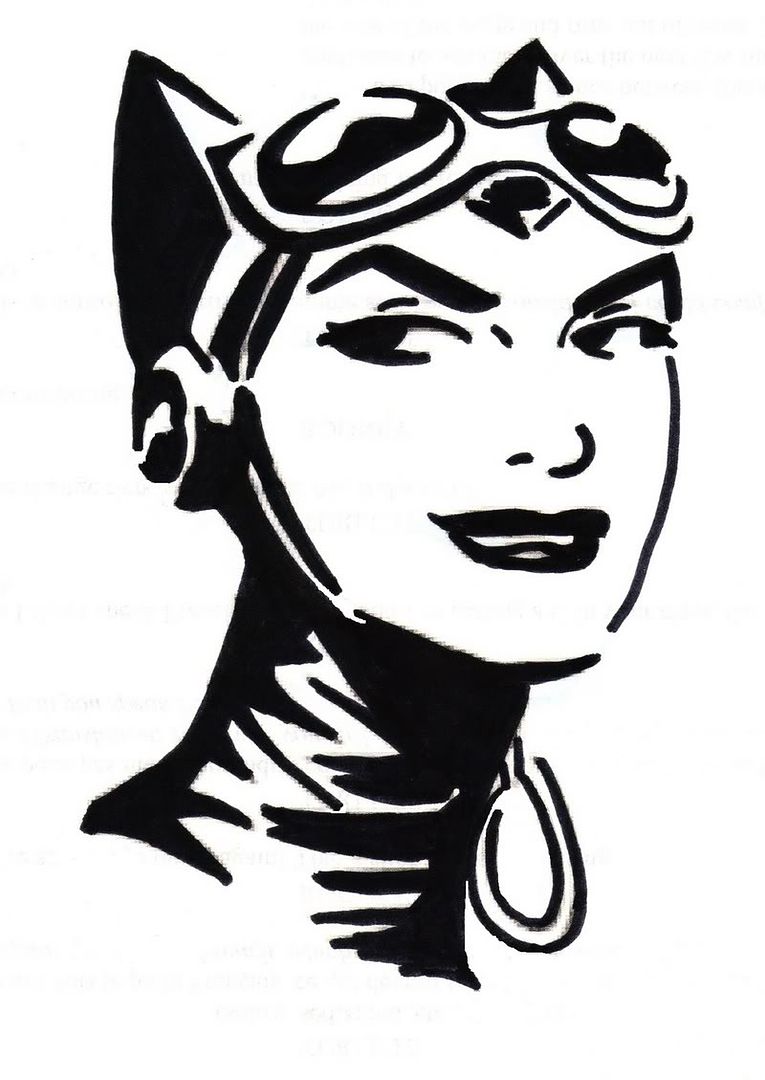
And here's a copy of the stencil I used in the picture above. I made it from a sketch by Cameron Stewart, a great comic book artist, of Catwoman.

7 comments:
What a great tutorial. Thanks for sharing!
What is "heat set"?
Hi Francis,
Heat setting is when you iron the t-shirt on a high setting to bond the paint to the fabric.
Okay thank you. Oh and very nice guide by the way!
Hi, it's me again,
I found some good paint for my t-shirts but I can't seem to find any freezer paper around. Do you know anything else that could do the job?
Hi Francis,
Freezer paper is the best thing I've found, but it isn't caried in all grocery stores. Note that it should be in the aisle with the tin foil (I have found it at Wegamen's and Stop and Shop, not Shaws). You can also find it, although it's more expensive, in craft stores with the quilting supplies. There it's sold in little sheets.
Alternatives that aren't quite as nice are contact paper (it's sticky-ness makes it tougher to work with) and plain oaktag, which you attach to the t-shirt using spray adhesive (which can be messier).
Thanks for the links to the stencils. I've been stencil for only a few months now and am just addicted to it! Great stencilin'!
Post a Comment